First of all, here's the original UPF cruiser that I'm trying to duplicate, next to finished versions of the frigate and fighter miniatures. Note that it's at least twice as large as the UPF frigate I made previously.

The mold-box I make out poster-board is obviously the largest one to date, and it took all of 4 pots of play-doh to make the bed for the first part of the mold. Also you can see that the walls are already bending out somewhat, which will turn into a bigger problem when the weight of the rubber gets poured in there.

Now, part of what I'm concerned with here is being efficient with the rubber compound. (It's rather easy to wind up throwing out half as excess using the official 3-cup mixing instructions.) In fact, making molds for two cruisers will almost use up one entire shipment of rubber compound. Anticipating this, I've quite carefully calculated the volume of the rubber I'll need for each half of the upcoming molds, and measured & marked a plastic cup with guides for that purpose. I really don't want to waste any!

So of course when I go to pour it, I slip with the cap and wind up spilling a huge glob all over my hand, table, canister, pants, floor, etc. Work gets suspended as I clean all of that up.

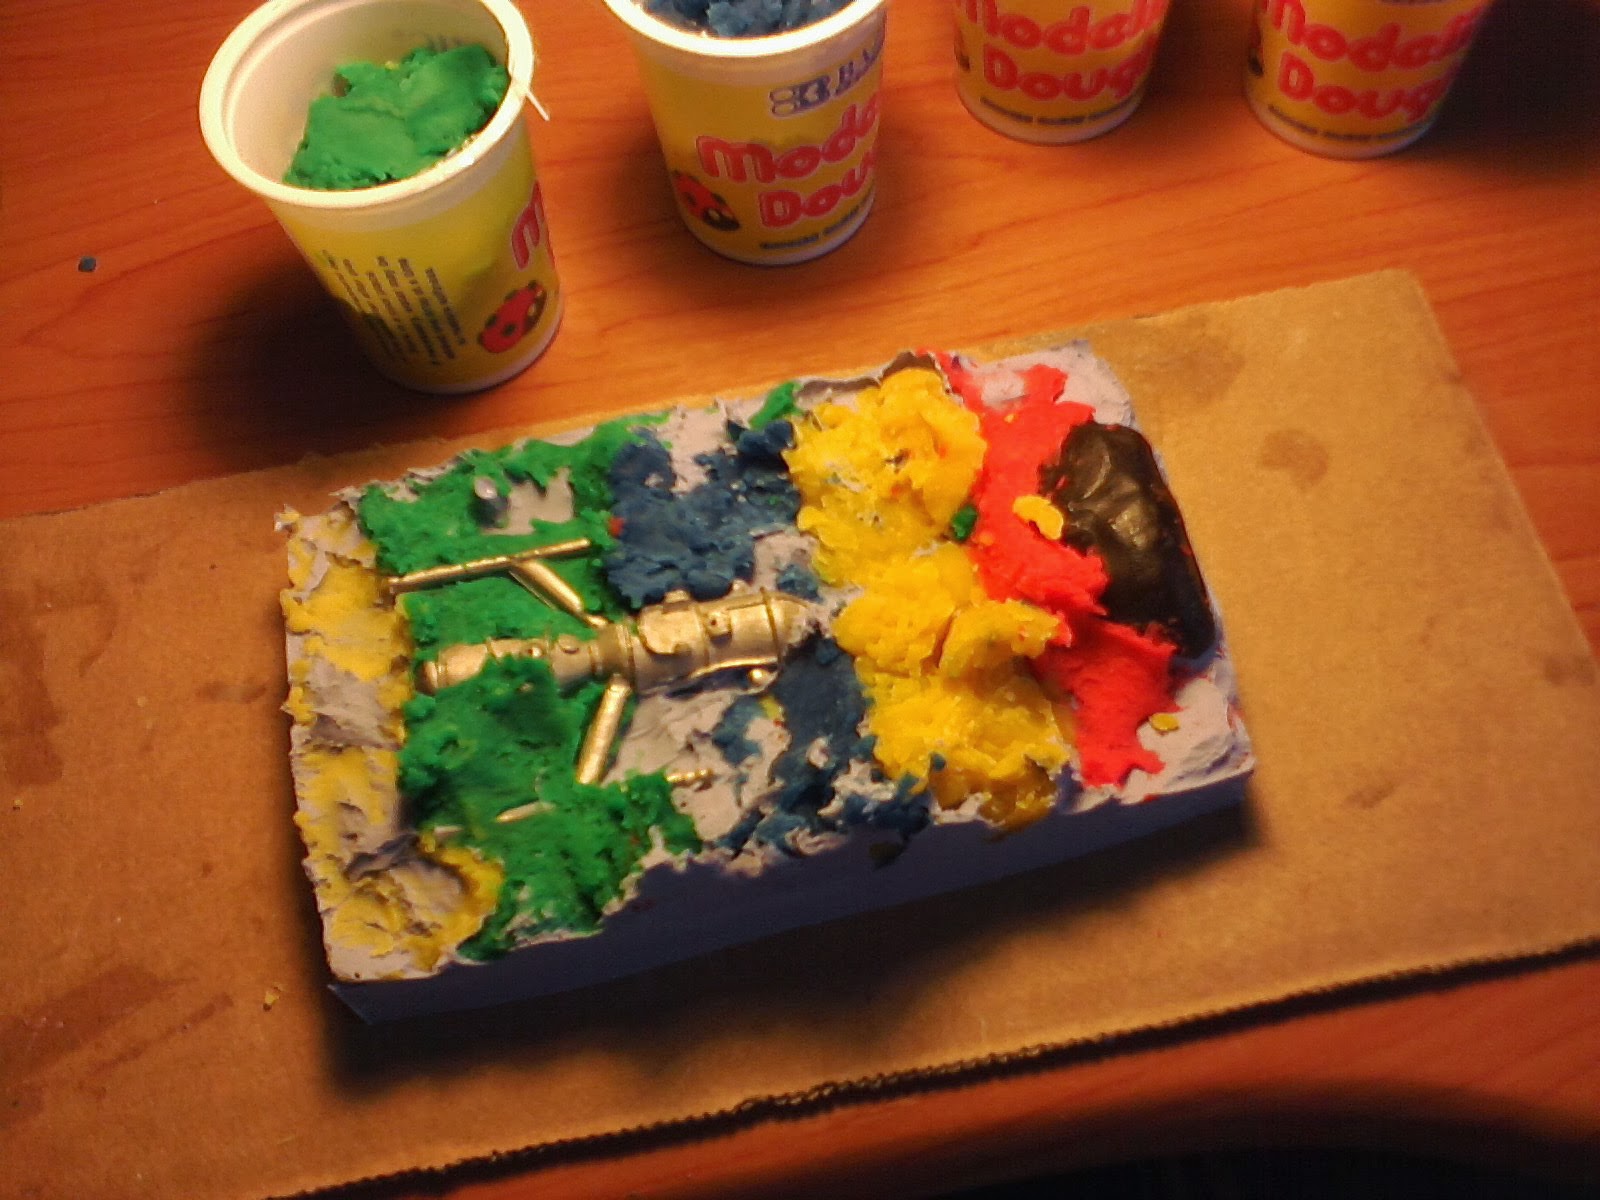
Anyway, the first half of the mold does get made, and a day later I took it out of the box, remove the large chunk of play-doh (putting it back in the pots for re-use later), and go to clean up that half of the mold. As you can see in the photo below, there's lots of little globs of play-doh that I have to pick out (with dental tool & brush, kind of like an archeology dig), and there are fairly big parts of the cruiser that have been buried in rubber that I also have carefully cut out. That probably takes an hour or two by itself? Definitely the least-fun part of the project.

A day after that, I've poured the other side of the mold, let it cure, and then separated the two parts. As usual, the pour-hole has been enclosed and I'll have to cut that open right after I take the photo. Looking pretty good so far, although the sides did noticeably bulge outwards on me (which bothers me mostly for how it sucks away rubber that I want covering the top).

Let's not forget about the cruiser for the Sathar opposition. Because of the extended engine struts, this one takes an even larger mold-box and even more rubber compound material. Below I have it set in its play-doh bed, with release agent sprayed on, and the rubber compound mixed and about to pour. (Fortunately this proceeds with no ridiculous spillage.)

As this largest-yet mold starts to bend and leak around the edges, I finally get smart and grab these 90-degree pieces of wood that we have laying around in the closet, and use those to brace up the sides of the mold while it cures overnight; a really nice solution. Later on I find out that the reason we have those chunks of wood is that my partner Isabelle made them years ago for use in mold-making. Oh, well, it's always satisfying when a mystery gets resolved.

After the first half cures, here I've got the remove-play-doh and cleaning project to do again. Of course, this one's even bigger and even harder to dig out. (And especially being careful around those delicate engine struts to get all the clay but not move or dislodge the figure which would cause "smearing" in the cast.)
Hours later, I've gotten it cleaned up to this level, with more to go and bits of covering rubber still needing removal. I actually think I gave up at this point and set it aside for another day. Which led to a late discovery -- it's actually a lot easier to clean up if you let it sit overnight so the play-doh dries out and gets all flaky. Finishing the cleaning the next day turned out to be much, much easier. (This advice assumes that you're patient enough to wait about 2 days per half of the mold for curing & cleaning.)

Finally, the other half of the mold gets cured and a day after that, the two halves get separated.Last thing is to take the exacto knife and open up the pour-hole, as usual, and then I think we're good to go. Next week I'll show when I take these molds to the foundry (kitchen) and actually start casting in metal.


This is possibly more industry than I have ever had toward anything, up to and including my graduate education.
ReplyDeleteHa! The funny thing is how relatively lazy I feel most of the time. My girlfriend's activity puts me to shame, as one example.
DeleteI'm worried the tops of the "nacelles" wont fill up on the second mold.
ReplyDeleteGood, some suspense for next week... :-)
Delete