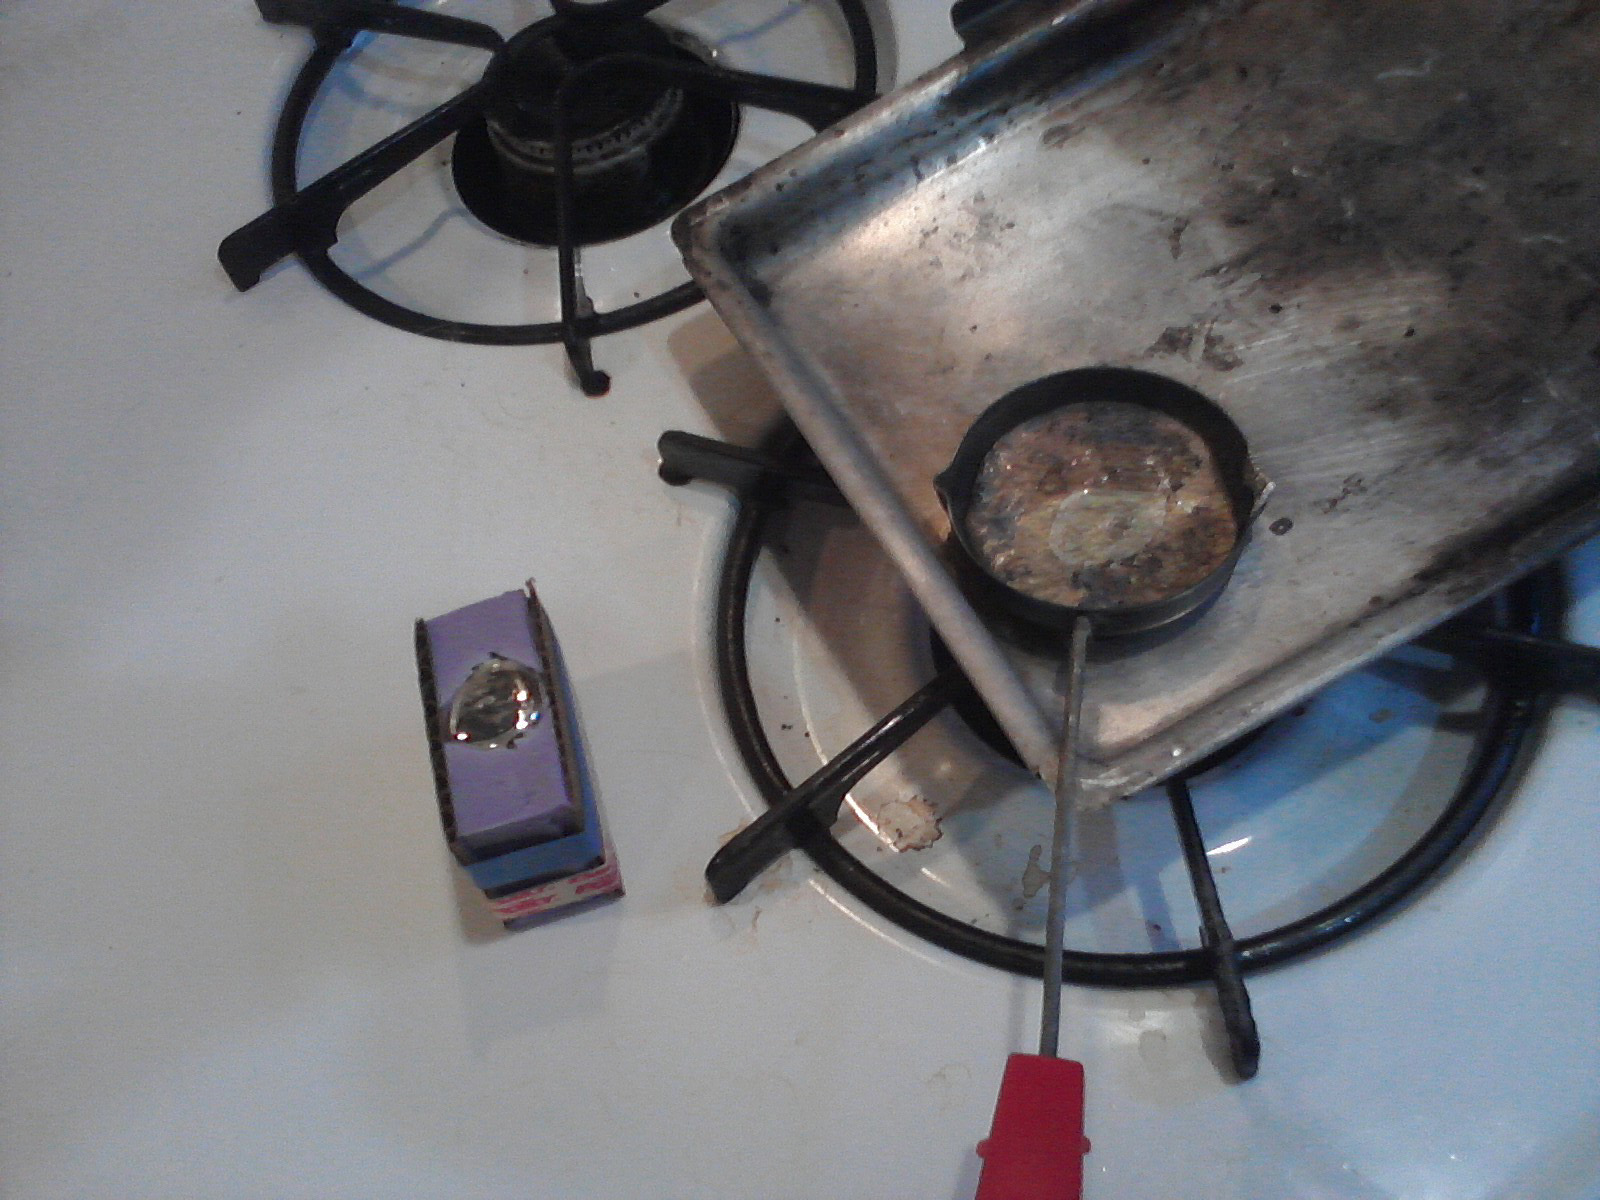
Workday 9 -- Setting up in the kitchen for possibly a few hours of pouring metal. I've got tools, talcum powder, lots of rubber bands, work surfaces, and the fighter squadron mold. I've also got the mold for the miniature bases which I'll be casting at the same time.

First pour seems to be working fine -- no drips or leaks or anything.
Now here I'll point out that the first few pours are basically experimental, and usually some small adjustments are necessary. In this case, the first pour filled the pour hole and actually didn't get any metal at all down into the fighter shapes. As always, the critical bottleneck is that connection between the pour hole and the mold shape itself. At this point I'll take the exacto knife and tweezers and widen that connection point just a tiny bit. I'd really rather have this happen the first time, rather than have the connection be too wide initially and have it impossible to disconnect miniature from sprue, because that problem is basically unfixable. So I'll widen it just a little bit and try again.

Second try: Better, the metal flowed from the pour hole into the central fighter, but froze at that point and didn't get into the shapes on the sides. This is actually a fairly difficult shape I'm trying to cast here, and in retrospect I was cheating quite a bit by having negative space between the fighters running horizontally through the mold. Really, I shouldn't have any expectation for that to work at all. Anyway, I'll go in again and widen the pour hole connection just a bit and try again.

Third time's the charm: with my next pour, all of the space fills in perfectly, and the pour hole connection is still so small that the miniature just falls off by itself without me applying any pressure at all. I even got the horizontal open spaces between the fighter winds to come out. It pretty much doesn't get any better than that. (A few of my subsequent pours don't work as well, and they go back in the ladle -- after enough attempts I'll get the quantity of good casts I was looking for today.)

Near the end of the afternoon, I've got three good fighter-squadron casts, and three base structures to go with them. I've cleaned them all up with a file and used a pin vise to drill holes through the bases where the wires will go.

Close-up of the UPF fighter squadron miniature, showing how small the darn thing is in my fingers. I wish the photo was just a bit crisper, but I'm immensely happy with how much detail I got in the miniature itself. Particular given I did a double-copy operation on this project, I'm really super pleased with it. (The detail this rubber product gets is nothing short of remarkable.)

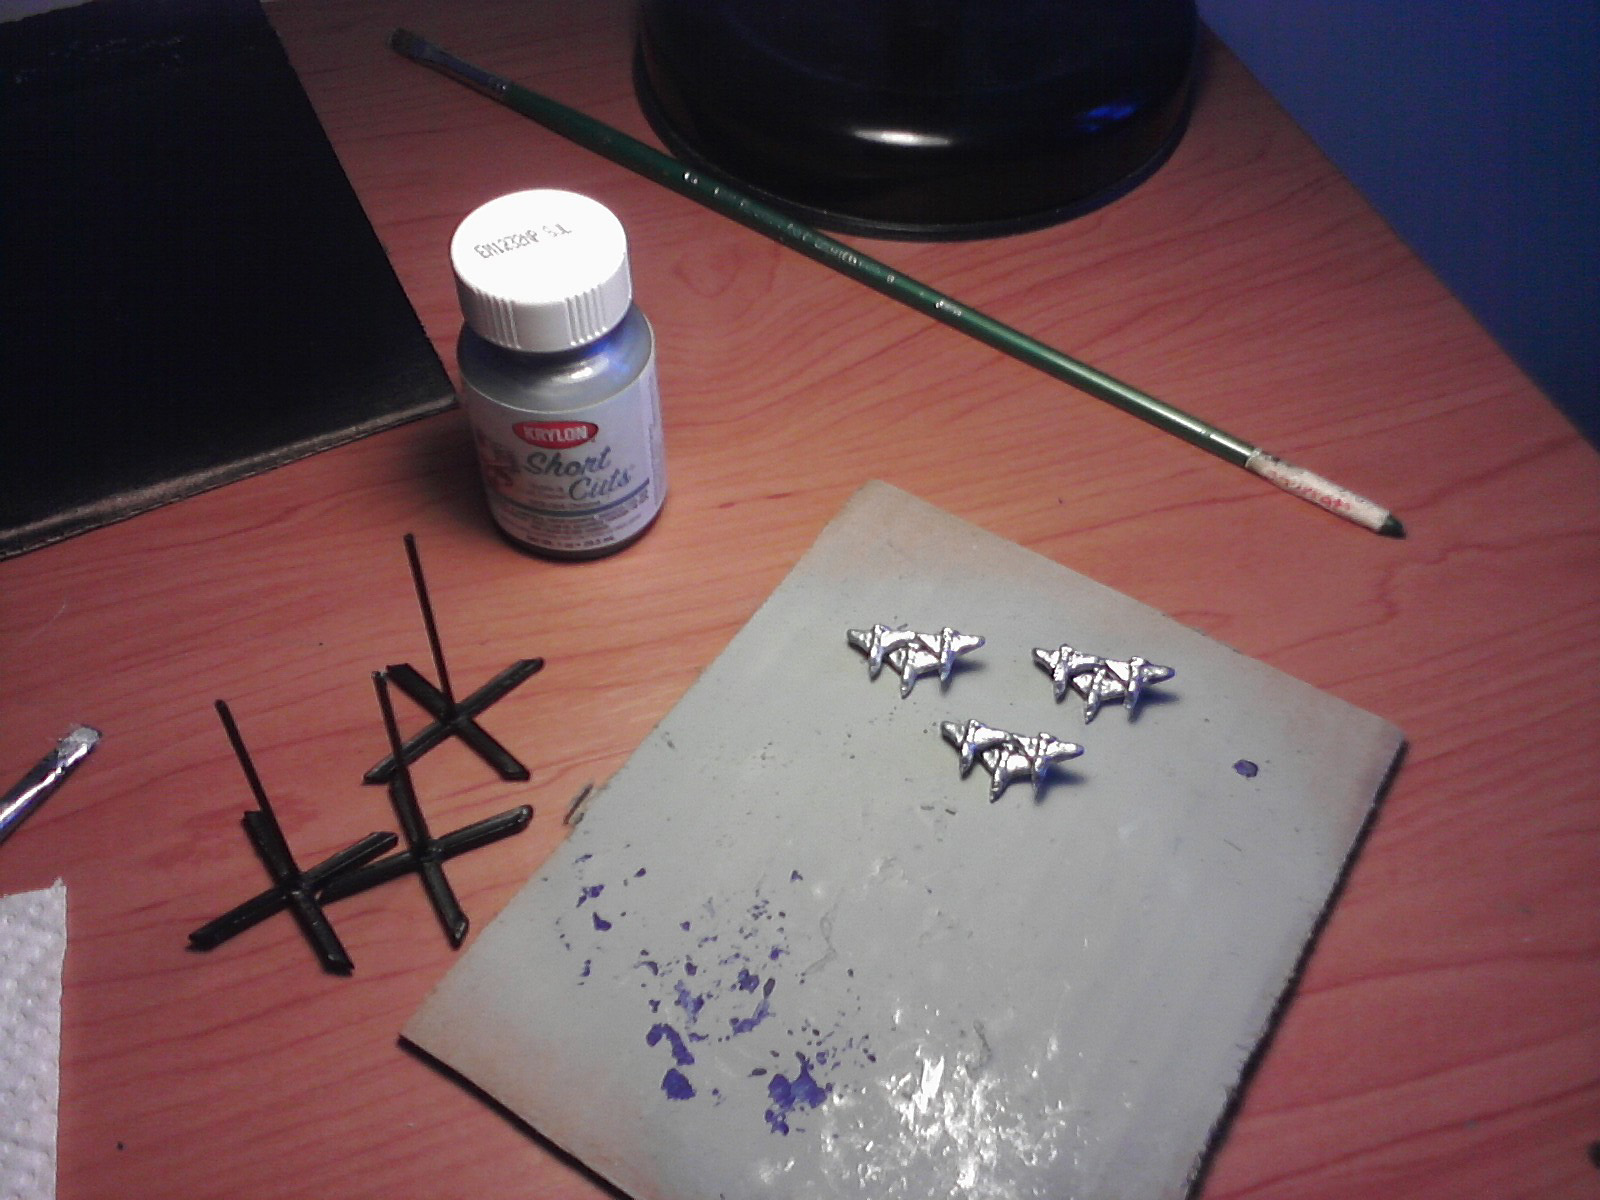
Workday 10 -- The last step is to prime, paint, and assemble my three miniature squadrons. In the afternoon I've taken time to prime the miniatures flat gray, and paint the bases a glossy black. (This also involves cutting 2" lengths of wire, rolling them flat, cleaning, and gluing them into the bases carefully.) As I've said before, I actually rather dislike painting miniatures, and I'm very happy for these machines to just have a two-step painting job. For my UPF ships, the first step is a base coat in ultramarine (navy blue).

Here I'm done with the blue base coat, and I've also touched up the black bases in a few places.

The second step is to dry-brush the UPF ships with metallic silver. For larger ships, I let more of the blue undercoat show (highlighting the extra detail, and looking a bit like scarred battle damage) -- but for smaller ships like these fighters, I want them looking more fast and sleek, and therefore I'm willing to more fully cover them in the silver paint. It's a bit of a balancing act, so I may got at them with the dry-brush silver as many as three times before I'm happy.
Super-gluing the fighters onto their bases and letting them sit for a bit. This is pretty easy, because the wire fits snugly into the post-hole I made with the pin vise on the bottom.

Last step: I take a white ink pen and note Roman numerals on the base of each miniature to distinguish them during game play. Looks pretty good by my standards, I'm exceedingly pleased with my first ever miniature-from-scratch project!


Nice! I enjoyed following with you as you completed these. Just curious, how *did* you get the metal to flow horizontally? Luck?
ReplyDeleteI think just flat-out luck. There was a little flap of rubber which barely hung in there to make that open space on each side. When I tried the same thing with the Sathar fighters, it totally didn't work and I had to re-do the mold.
DeleteFor mold boxes I have roofing shingles that I have cut into ~ 2" strips bent into "L" shapes (sort of "Z" there is a little tail for the clamps). Then I use tiny clamps and make custom size boxes for each mold - they are very stiff so the problem you have w/ cardboard flexing does not occur.
ReplyDeleteGreat idea. My girlfriend has wooden "L" frames for similar use on big plaster molds, and I did start using those in an ad-hoc fashion for some larger pieces. If I was doing a lot more of this, I should totally follow your plan and make some custom ones myself. You're right, that would instantly solve my whole re-sizing procedure.
DeleteLove the miniatures and the write-ups. I have a pile of original SF miniatures I still need to paint and would love to have some fighters as well.
ReplyDeleteI was wondering if we could run the three posts as a single article in a future issue of the Frontier Explorer (http://frontierexplorer.org)? I know some of our readers are into miniatures and I've been wanting to include more related articles. I think it would be great to have a DIY project like this highlighted.
Hey Terl, that would be great! Let me know what I can provide you for that article. Email me at delta at superdan dot net.
Delete